Replacing the fan on the GPD Pocket 4 is very easy to do. We have a video showing the full process as well as a step by step guide in text below.
Remove the seven screws on the bottom of the GPD Pocket 4
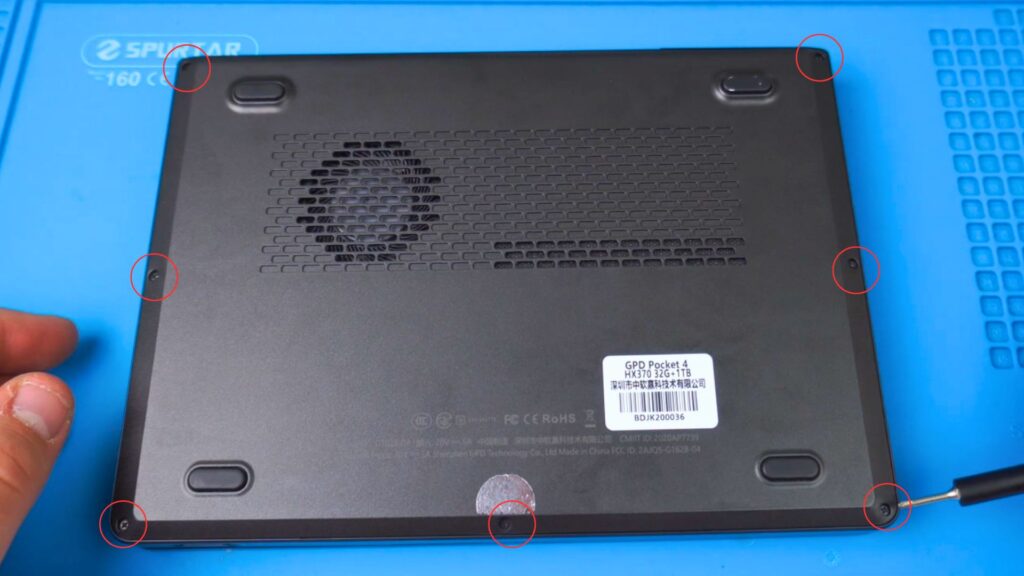
Remove the seven screws
Remove the two screws on the back side of the mini laptop case.

Remove the two screws from the back
Remove the two screws holding the fan in place
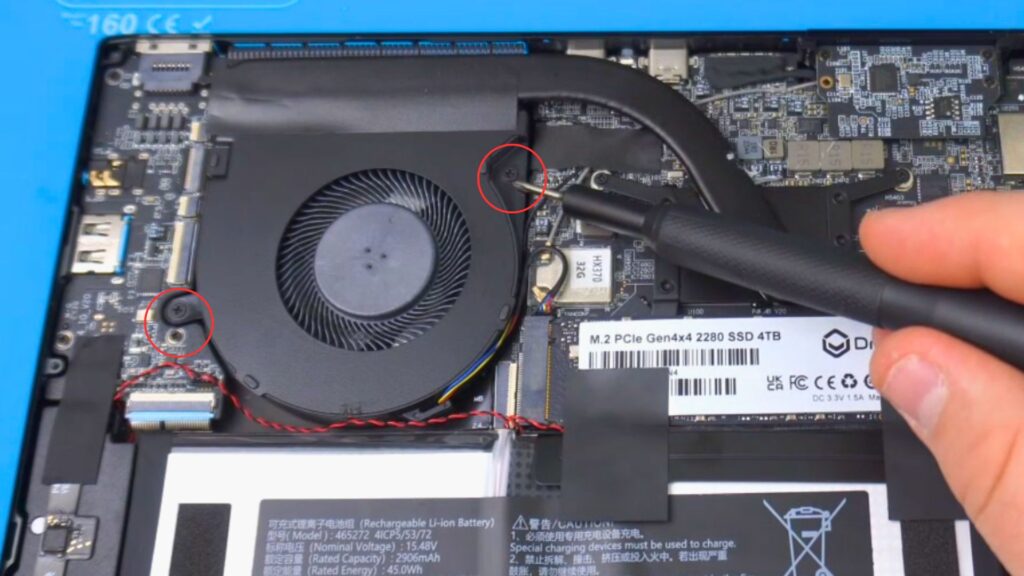
Remove the two fan screws
We recommend using some warm air to warm up and soften the glue to make it easier to peel back the tape.
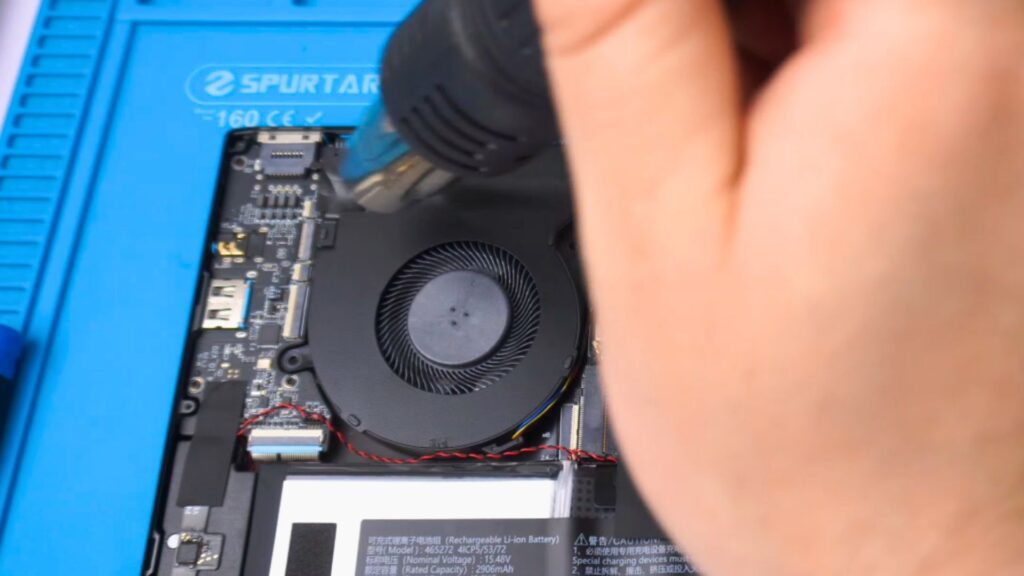
Use some warm air to soften the glue
Peel back the tape on top of the fan

Peel back the tape
Use tweezers to disconnect the fan cable from the board
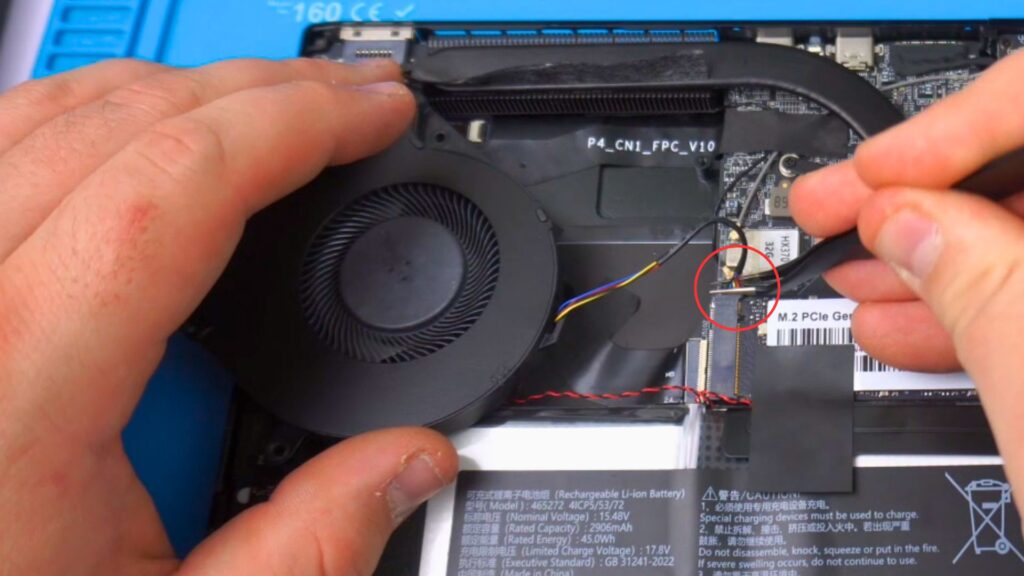
Disconnect the fan connector cable
You can now fit the replacement fan, connect the cable, stick the tape back down, fit the fan screws. Then fit the case and fit the screws on the back and bottom.